Plastic box + lid (or 2 depending on the needs, keep reading. Ensure the boxes are stackable)
Power drill
Organic materials: leaves/paper & food scraps
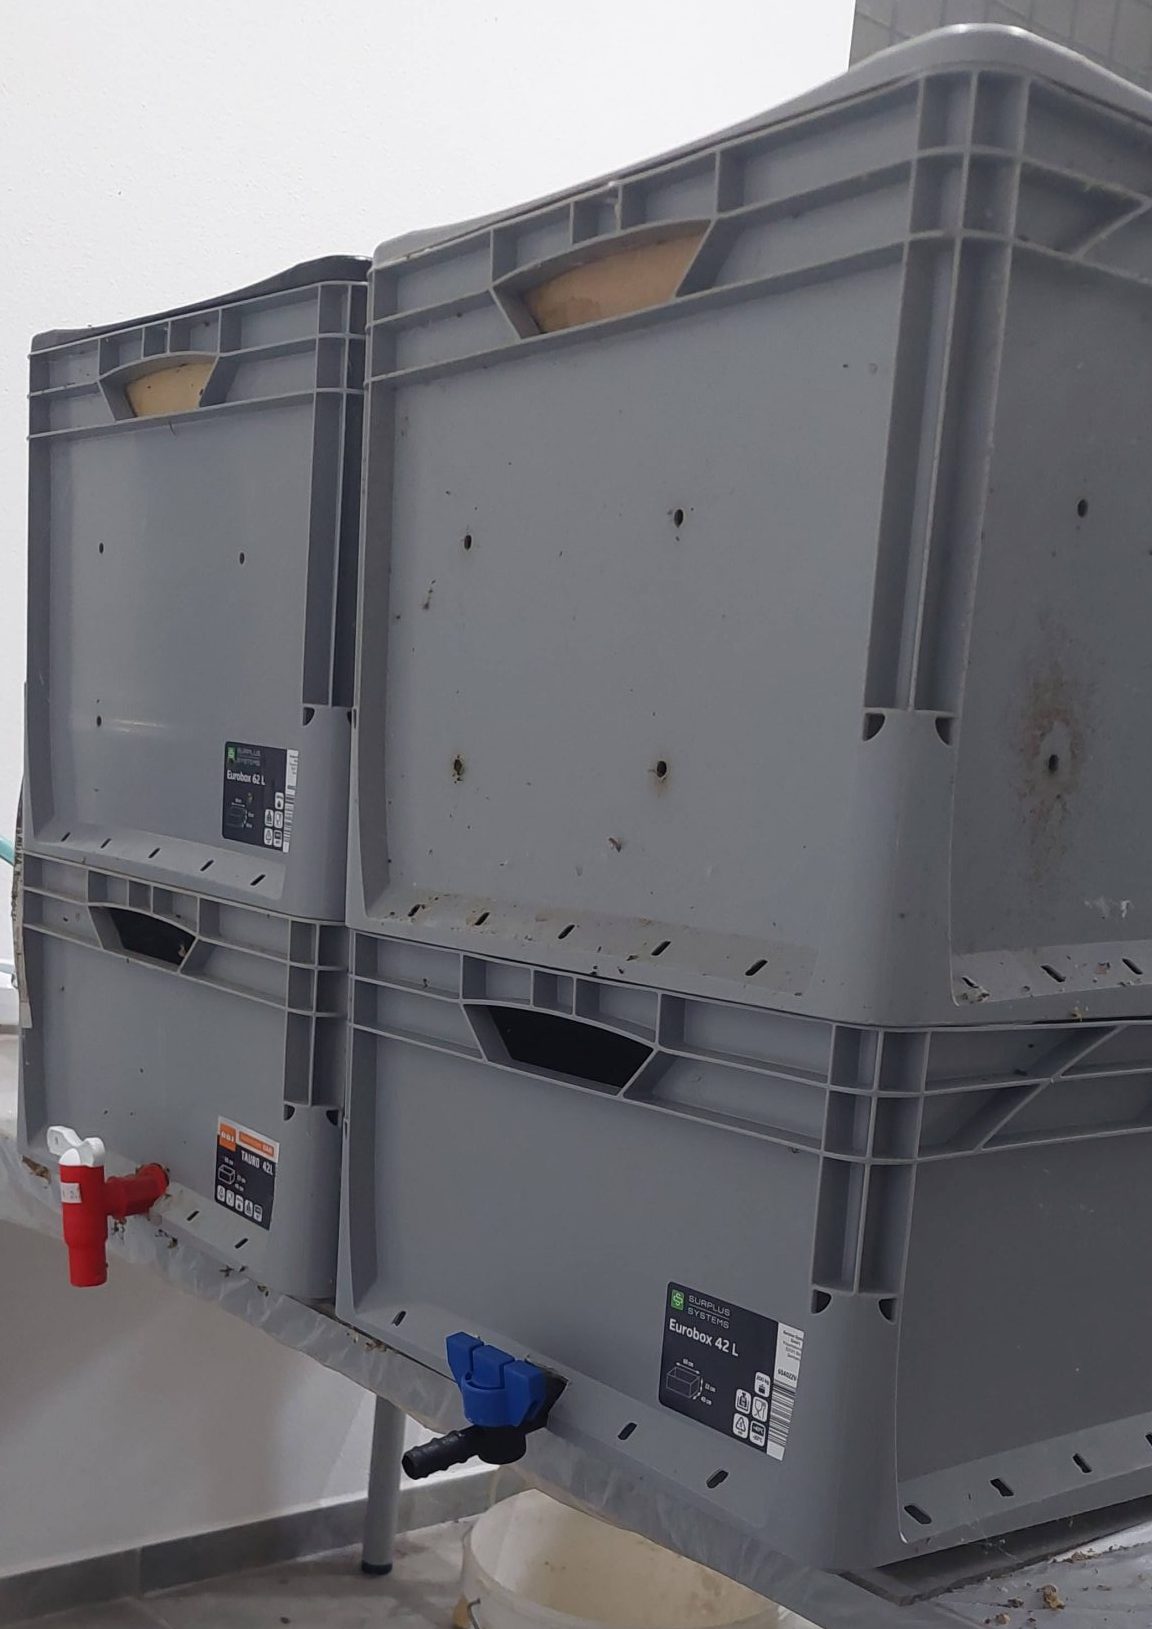
One box is required to place the food scraps and worms, this is generally sufficient. However, if you are after producing “worm tea”, then you would need another box stacked below with a plastic tap attached to easily get hold of the water.
Ever heard of “worm tea”? No, it’s not the latest hipster beverage; it’s a magical elixir for your plants! Worm tea is a nutrient-rich liquid, brewed from the castings of our wriggly friends, the worms. It’s packed with beneficial bacteria, enzymes, and nutrients that give your plants a jolt of vitality.
Using it is a breeze! Simply poor some water into the top box and wait for it to descend to the bottom box. Open the tap, and fill a watering jug. Fix the worm tea with additional water (think one part tea to five parts water) and sprinkle it onto the soil around your plants. You can also use it as a foliar spray. Just watch your plants dance! with joy! So, next time you’re looking to give your garden a boost, remember to raise a glass of worm tea!
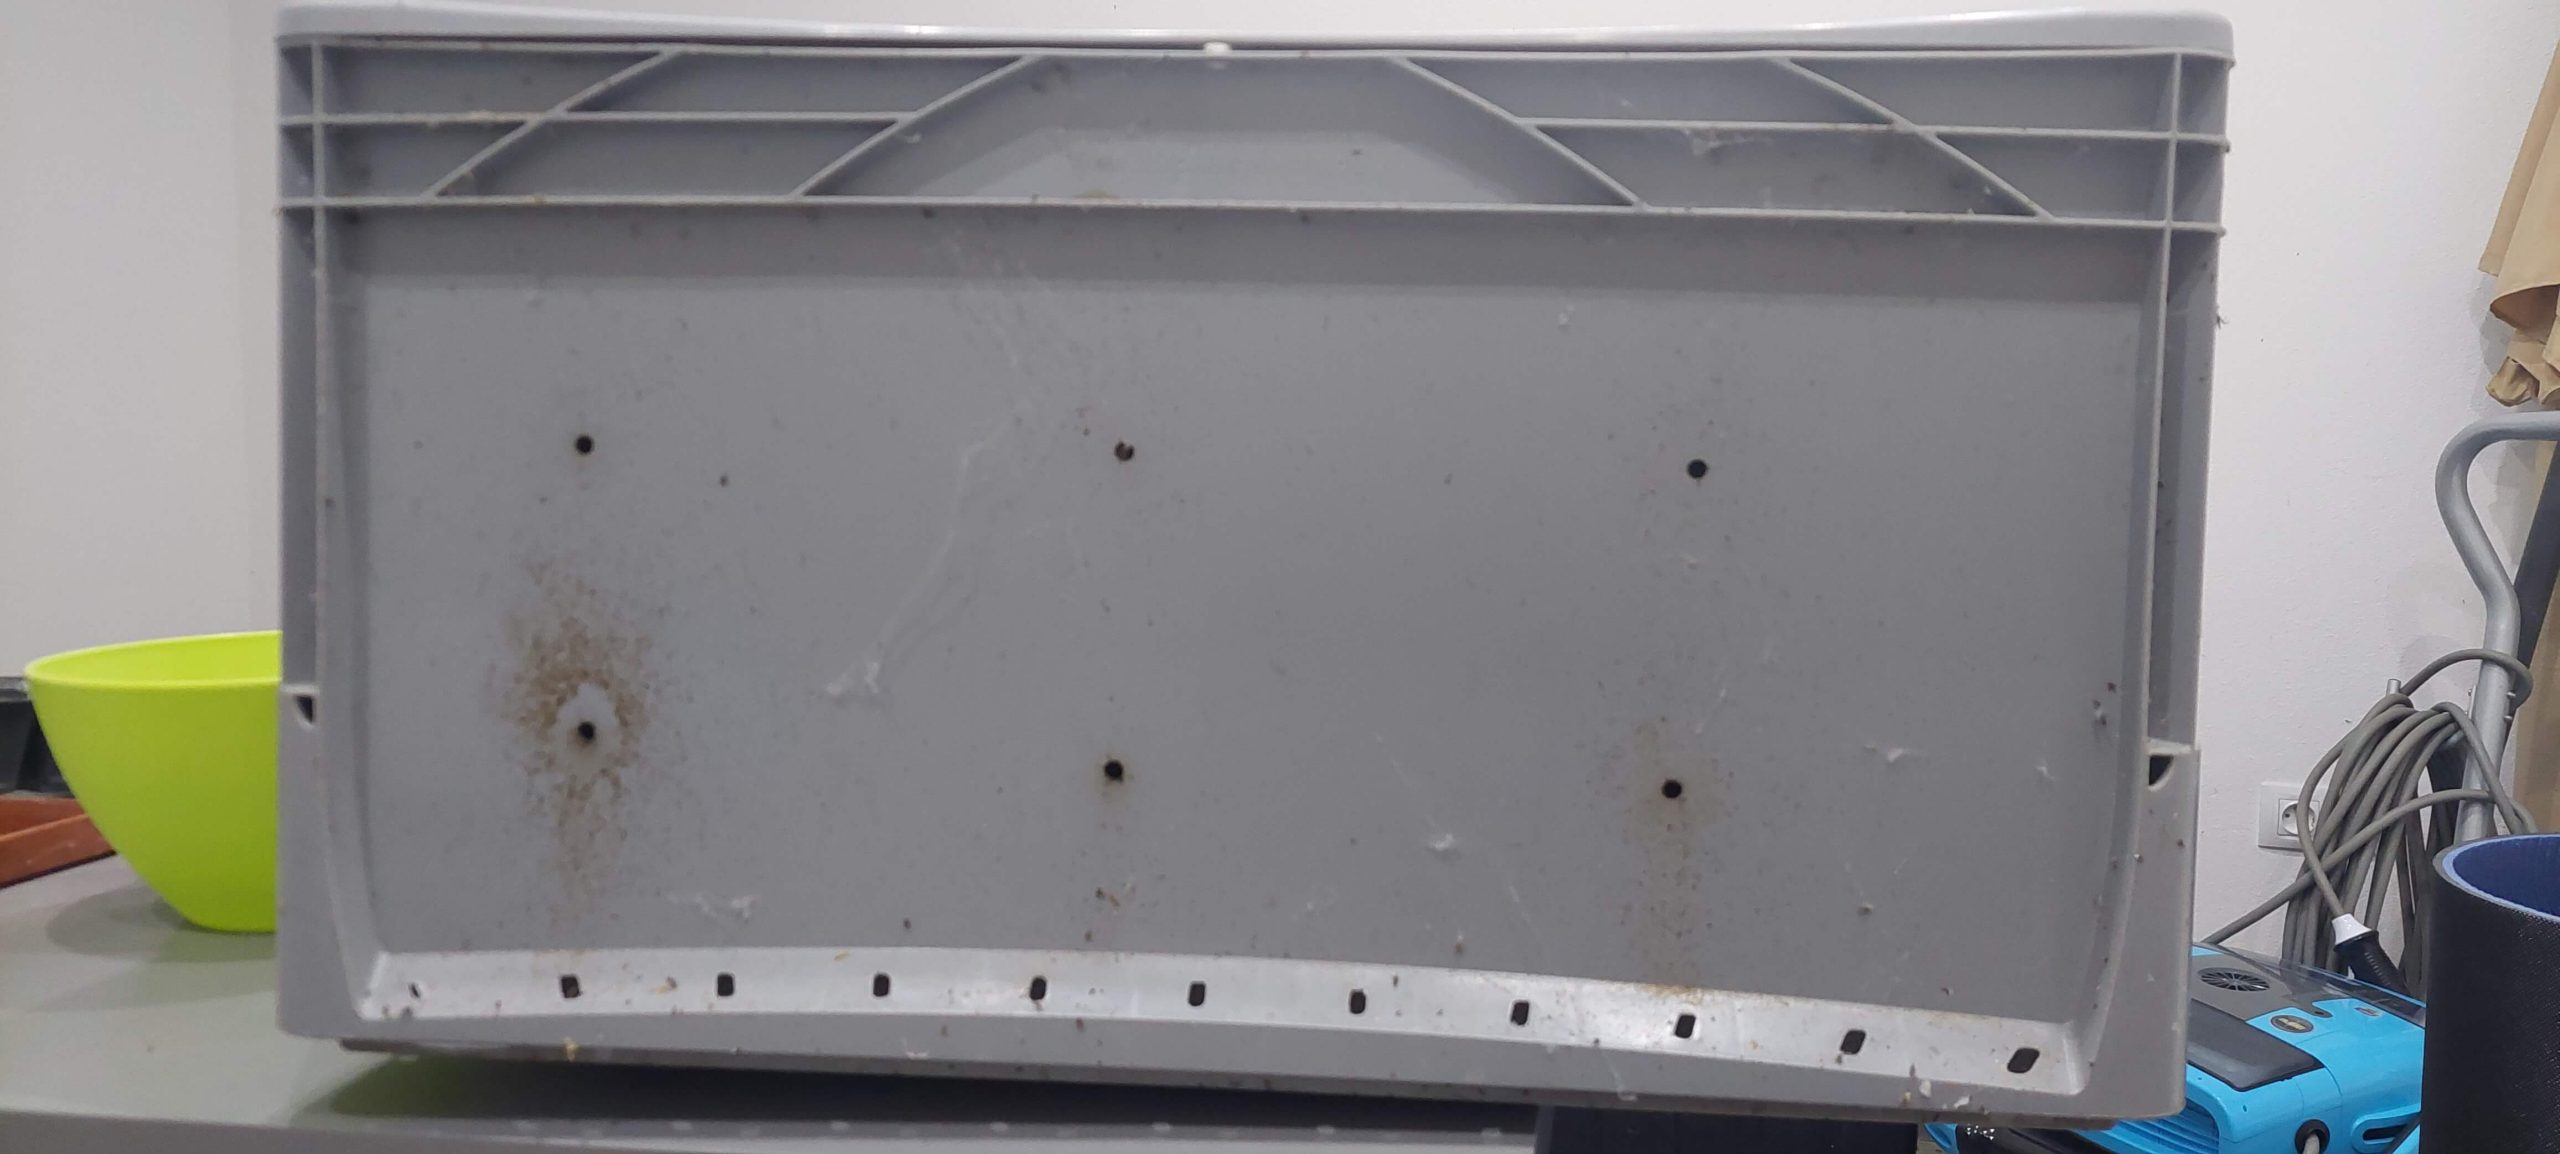
If you’re going ahead with 2 boxes, one stacked on top of each other, leave one of the boxes untouched and drill several holes about 6 inches apart (15cm) on the bottom of the other box and on the vertical sides of the box. The box with holes will be stacked on top of the one without.
The holes at the bottom allow water to seep through from the first box to the bottom, while the holes on the side some air circulation. Fear not, they will not escape! Worms avoid light.

This is the top box, with a lid. You can opt to use one box which would allow you to produce your own fertiliser (worm castings).
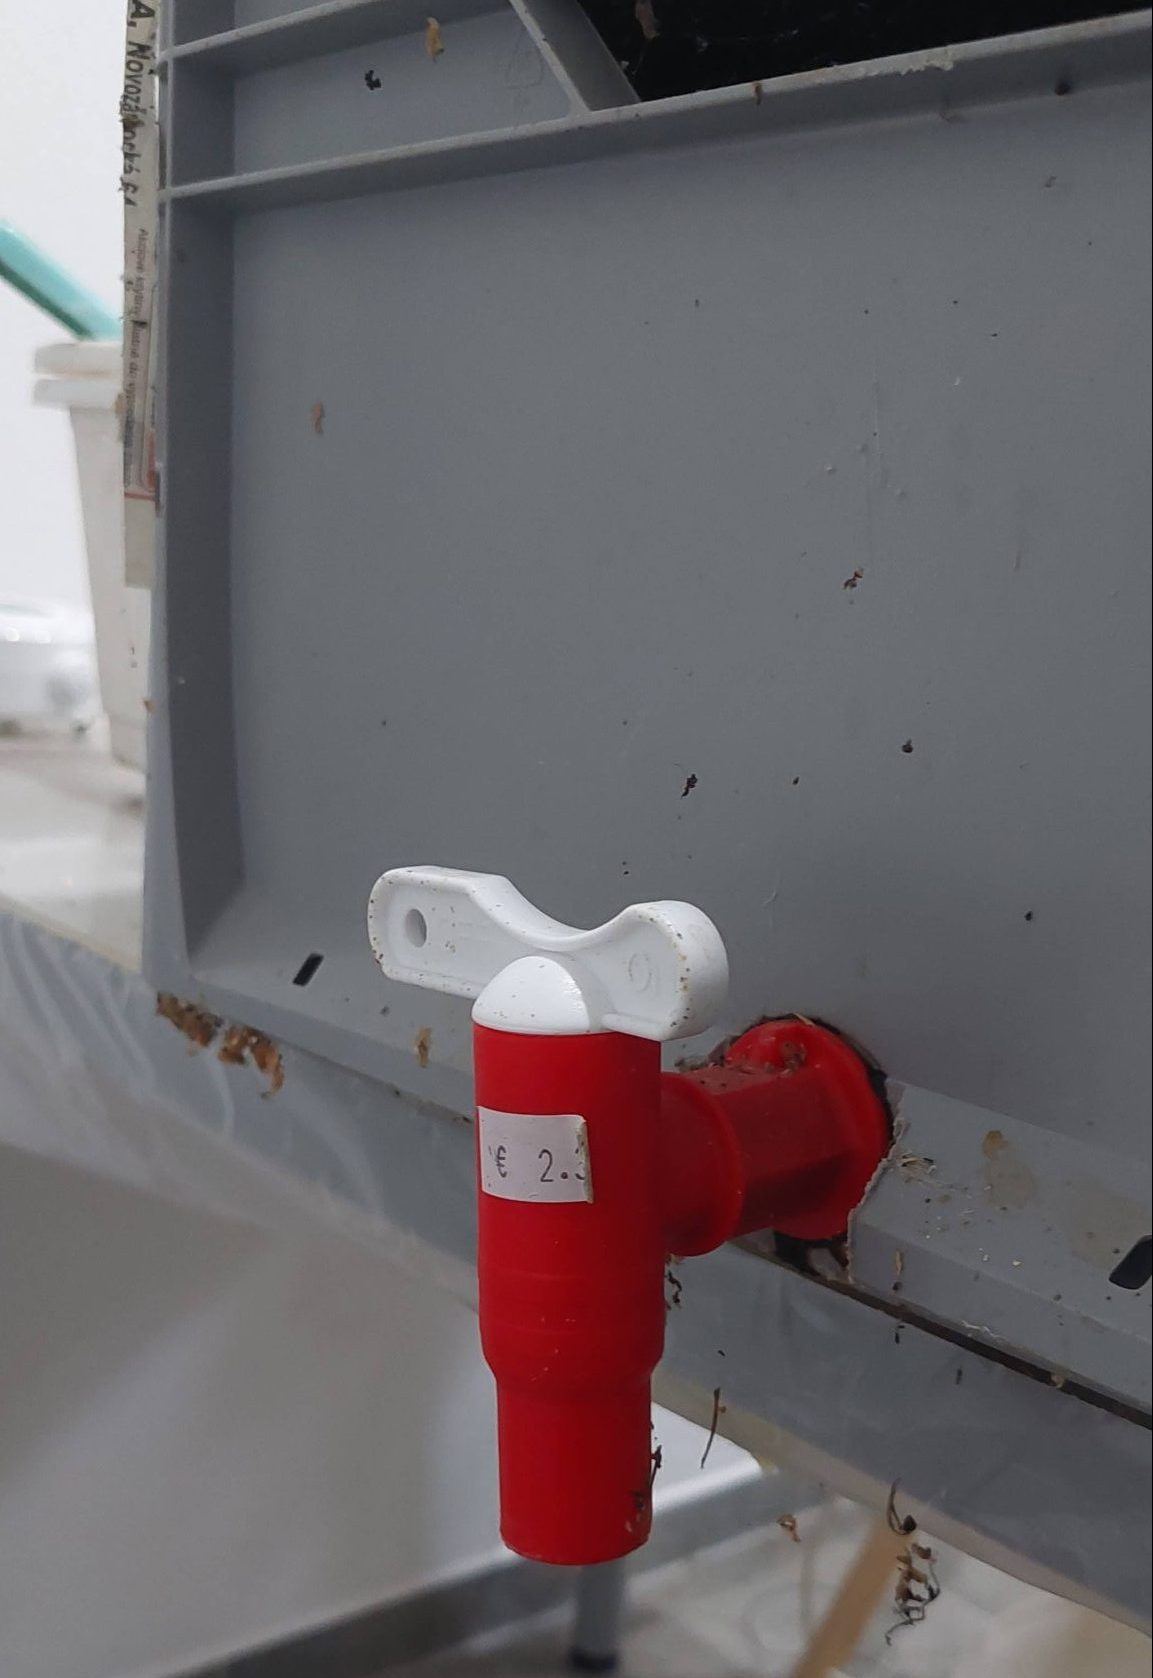
For those of you who are adventurous and would like a stacked setup, cut a hole open at the very bottom of the box and attach the tap. A tap can be purchased €2 from any garden centre. You can use any means but this from Alza.sk works just fine.

Do not forget both washers, one outside of the box and one on the inside to avoid leaks. When pouring water through the top box, most of it seeps down while some of the water remains in the top box. Ensure that once water is poured and finds itself at the bottom, do not leave it in the box for too long.
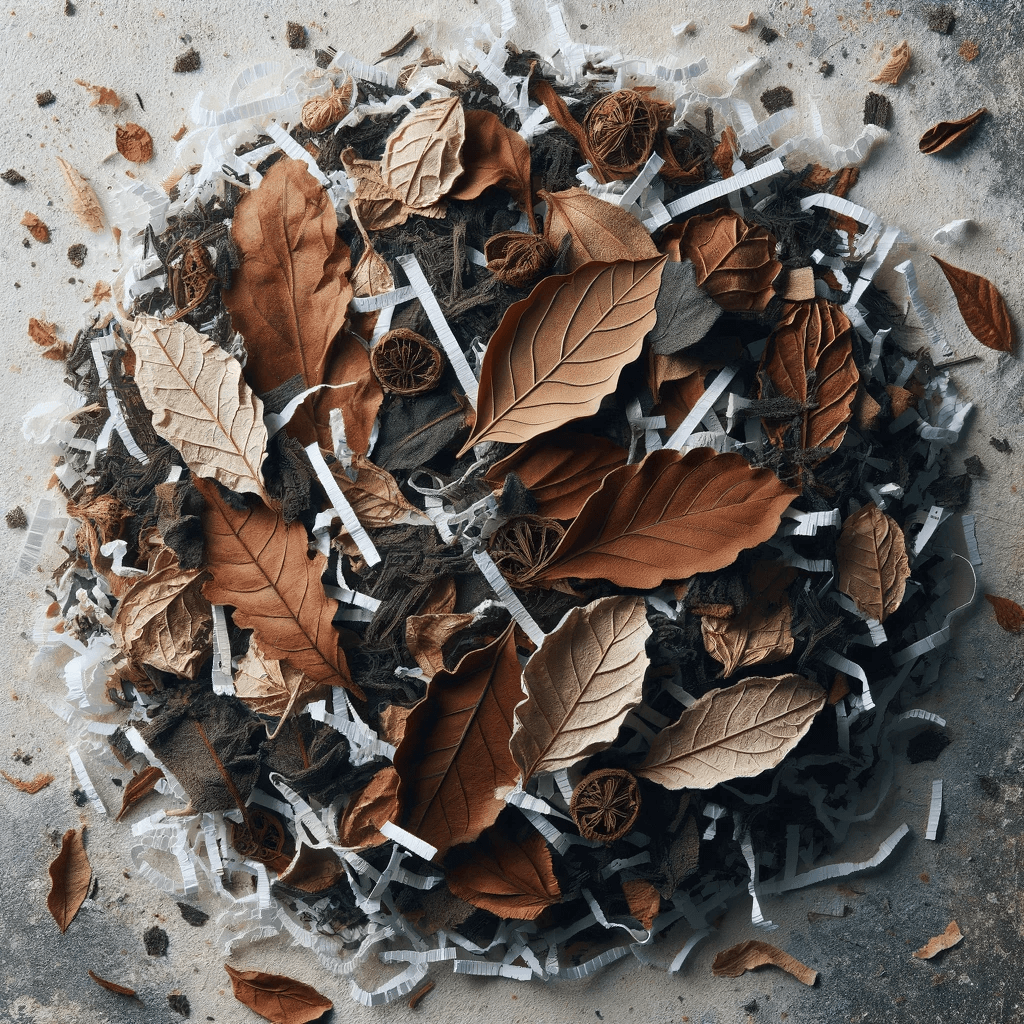
Gather some leaves, cut grass, shredded paper (avoid glossy paper) or newspapers and place at the bottom of the box. If you want, you can include a couple handfuls of soil just to make them feel more at home. This will be their bedding.

Our friends reproduce like mad! Adding just a handful of worms to start is enough. Adding too many might clutter their little town and their demands for food will grow. Just place some worms on top of the bedding.
Then add some food scraps (vegetables left overs or fruit peals, left over bread or tea bags or anything organic really), worms eat half their weight every day so feel free to add whatever you can find without exaggerating until you build your little worm empire.
Finally, add further leaves, cut grass or shredded paper to cover the food scraps and close the lid. Unfortunately I learnt this the hard way. While if aerated properly (hence the holes), the food will not stink, if not covered well, you might end up inviting fruit flies – those little tiny pesky flies!
And voila, cover the lid and place anywhere that is not too hot or cold. Do not place outdoors especially if your Winter goes below 5 degrees Celsius. I leave my bins in the garage which is not heated and Winters can be cold, but you can try the your pantry, kitchen cupboard or anywhere in the house is just fine. These guys are not demanding!

If you live close by to Nitra, click here to get in touch – we’re offering a worm starter pack for €25. Alternatively, there are a few individuals selling them on bazos.sk.
Maintenance is pretty straightforward, and while they do eat a lot of organic matter, fear not. If you forget to feed them or run out of food, they will survive. Every couple of weeks take a look and see how they are doing and add further bedding as needed. They will eventually eat everything, including the bedding (paper and all).
I generally empty the boxes once a year before the planting season starts in Spring. I redo the hole process and end up with several kilos of priceless fertiliser. Add the worm castings to flower pots, greenhouse or your raised beds. Mix it with soil while planting and your veggies & plants will thank you.
If you have any questions, feel free to comment, thanks for the read!